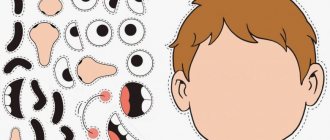
Rapid development and pleasant leisure time
There is no doubt that such stimulation of mental activity accelerates the formation of speech skills. By transferring pictures of nature, city scenes, his plans for the future and ideas about his chosen profession onto the background sheet, the preschooler receives incomparable pleasure and spends his time with great benefit.
While doing appliqué, he learns to work with cardboard and paper, read drawings, and select materials suitable for specific artistic purposes.
Color scheme and typology
As for the color design of the application, it can be monochrome, colorful, or black and white. The presence or absence of a relief in the application allows us to call it volumetric or flat.
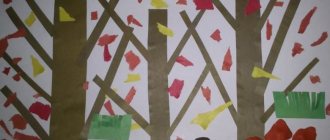
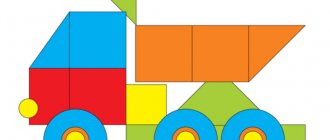
Overhead, broken, silhouette, modular, and ribbon varieties are also known, and the typology of applique is not exhausted by these terms.
Handicrafts available from infancy
From about the age of one, children begin to show considerable interest in this type of creativity. It is the application that becomes the simplest and most accessible tool for developing the emerging imagination.
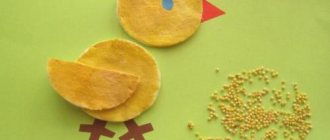
Beautiful types and techniques of appliques allow you to carefully study colors and shades, combine them into harmonious compositions, remember and transfer onto paper the outlines of objects, animals and people.
Making a paper basket
For the application you will need the following equipment:
- Colored cardboard or just thick paper;
- Simple pencil;
- The base can be a thick sheet of whatman paper;
- Various stencils - can be printed on a printer in advance;
- Glue - preferably used in pencil form, it is less toxic and easy to work with.
Now a little instructions, let’s learn how to do it ourselves:
- You can draw a neat basket or find a ready-made one on the Internet and print it on a regular sheet of paper.
- Next, the basket is cut out on colored paper and glued to the base.
- Next, you need to cut out circles of different sizes from colored paper.
- After this, they are wrapped around the pencil to add volume.
You need to cover the entire area of the template with similar volumetric flowers. Experts recommend using bright and variegated shades, as they are better perceived at a young age.
The easiest material to use
Anyone interested in learning how to make simple appliques should first work with paper. It is precisely this that allows you to realize any plans without a lot of effort and money.
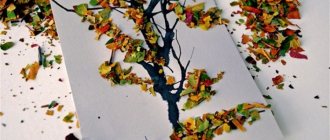
As you acquire the skills of drawing, cutting and gluing, you can also begin to use fabrics, leather scraps, buttons, ribbons, straps, wool, rhinestones, wood chips, and jewelry.
Making an Easter egg out of paper
Festive applique is a complex but very interesting option. The result can even be framed and hung in the kitchen as decoration.
What you need:
- You need to print out the eggs in advance on an A4 sheet of paper, which will act as the base.
- Next, you need to choose a bright palette of colored paper, which is then cut into small strips or cubes.
The creation process is more like a mosaic, how to do it right:
- The child’s task is to trace the stencil with colored pencils or a pen to make the line more pronounced.
- Next, he cuts colored paper so that the pieces can be used to fill the space inside the printed egg.
- The process of selecting parts may take some time, but it trains patience and endurance well.
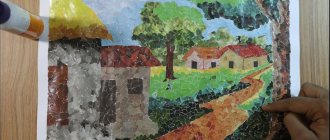
Next, all parts of the mosaic are glued using PVA. It is advisable to place the finished work in a frame in a visible place, since the creative process and the result may seem difficult even for adults.
The photo of the paper appliqué shows that matching the flexible shapes of eggs and pieces of paper requires skill.
Making a flower meadow in the meadow
This option is ideal for those who are 5-6 years old. The work can not only be submitted to a spring talent competition, but also turned into a real greeting card.
What you need for creativity:
- Plastic safety scissors.
- Glue - you can use a pencil or PVA.
- A simple pencil or black pen.
- Set of colored paper.
- Thick cardboard for the base.
Now you can proceed with the instructions:
- If previously a stencil was used for work, this time parents do not have to make the process easier.
- The child can draw the flowers himself and then carefully cut them out along the contour.
- You also need to take care of the base - to make the background look more successful, you can paint a green field on it in advance with watercolors.
- After this, the flowers are carefully collected on the base and glued with PVA glue.
To ensure that the work dries evenly, do not place it near the battery. If creativity is urgently needed, you can dry the work with a simple hairdryer on medium setting.
To make a card, just fold the base into two equal parts before applying the flowers.
Creative paper apple
If the child is tired of the usual flat applique, you can offer to make a voluminous fruit. The process is easy and develops motor skills well, as the baby works with small parts.
What you need for work:
- A small amount of red and green paper.
- Cardboard.
- Glue.
- Some water.
How to make a beautiful apple applique with your own hands:
- First you need to cut the red into small squares;
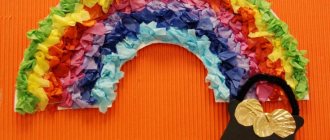
- Then each of them is dipped in water, after which they are crumpled with fingers and placed in a dry place;
- You need to cut out neat leaves and a small twig from green paper.
Next, you need to draw a stencil of an apple (or just a small circle) on the cardboard. Then the baby covers the empty space with PVA glue, then begins to glue small crumpled red parts.
At the end of the work, only greens are added. If everything is done carefully, then such creativity can even qualify for a prize in kindergarten.
